Choose single-layer laser cut Christmas ornaments when a name, engraved pattern or open silhouette carries the design. Choose face-stacked layers when the ornament needs a separate foreground, a contrasting backer or shapes that physically overlap. An extra layer should contribute something visible—not simply make the piece thicker.
The choice changes more than the front view. An ornament can turn on its hanger, show its reverse and sit among branches rather than against a plain photographic background. Consider those views together with the finishing and assembly work before choosing the file or dividing an original drawing into layers.
One sheet can hold a complete design
A single-layer wooden ornament is made from one sheet, but its decoration need not be limited to a plain outline. The laser can engrave surface information and cut the outside profile as separate operations. A family initial, a date and fine decorative lines can share one continuous face rather than becoming individual pieces to assemble.
Epilog's engraved-and-cut Christmas ornament project illustrates that combination on wood strips. The useful distinction is between changing a surface and cutting a boundary; the project's machine settings are not a recipe for another laser engraving machine.

Imagine an original monogram bauble with a circular body, a large initial and a small winter motif underneath. If the initial and motif are engraved, they do not need separate backing or raised letters to remain part of the design. The visual hierarchy comes from their size, placement and contrast. Adding another plane could help create a deliberate frame, but it is not necessary merely because the ornament is personalized.
An open cutout is another one-sheet option, with a different appearance. Where material is removed, the background becomes part of the view: a branch, a wall or a light may appear through the opening. Engraved detail remains on the wood that is present. Decide which areas should be open and which should carry marks, rather than treating every line in the artwork as a cut.
A backer changes the picture, not just the thickness
A face-stacked ornament joins separate flat pieces one in front of another. This is the type of layered construction considered here; a slotted ornament that unfolds or intersects at right angles is a different design problem.
The simplest useful addition is a backer behind a cut foreground. An opaque backer replaces the changing background seen through the openings with a consistent field. A dark foreground against a lighter backer can make the cut shapes easier to distinguish in some surroundings. It also removes the view through those same openings. Neither result is inherently better: one design uses transparency and its surroundings, while the other controls its own background.
Return to the monogram. A cut initial with open spaces may be intended to appear among the branches. Putting a solid disk behind it changes that intention, even if the initial's outline stays identical. If the priority is a clear initial against a selected background color, the backer has a purpose. If the priority is an airy silhouette with visible gaps, the same backer may work against the design.
This is why a layered file should not be judged only by its layer count. Ask what would be lost if one layer disappeared. If the answer is a necessary background, border or separate foreground, that layer may earn its place. If the answer is only that the edge would look thinner, reconsider whether thickness is actually part of the desired appearance.
Real overlap helps a scene—but can hide its message
Consider a second hypothetical bauble: a small forest scene with distant trees, closer branches and a family name in the sky. A backing field can carry the distant scene, while a separate front silhouette places nearer trees physically in front of it. Unlike shading engraved on one sheet, the front piece occupies another plane.
That separation creates a useful design choice about what covers what. The foreground trees could frame the name, or they could obscure its lower letters. A front-on drawing may leave a narrow clear space around the lettering, yet an angled view may bring the projecting foreground edge across it. The effect depends on the actual shapes, thicknesses, spacing and viewpoint; extra layers do not guarantee an attractive shadow or a more readable scene.
Give the name a deliberate position in the composition before adding foreground detail. If the name is the reason for the personalized gift, it should not become a small leftover space after the trees are arranged. Conversely, a scene-led ornament may work best with a modest date or name that does not compete with the landscape.
A one-sheet version remains a valid alternative. Engraved lines or tonal areas can distinguish nearer and farther trees without creating physical separation. That will not produce the same side profile as stacked wood, but it may convey the scene more cleanly at the intended ornament size. Choose actual layering for a physical relationship you want, not merely because dimensional artwork looks impressive on screen.
The side and reverse belong to the finished ornament
Check the design away from its ideal front elevation. On a stacked ornament, exposed sheet edges and the outline of the backer become visible from the side. A backer that looks discreet in a front drawing can become a noticeable part of the profile. Finishing choices should account for those edges rather than treating them as surfaces nobody will see.
The reverse needs its own decision. Engraving the front of opaque wood does not make those marks visible from the back. Through-cut shapes can be seen from either side, but directional lettering will have a reversed outline when viewed from behind. A stacked ornament may show a plain backer unless you intentionally decorate that surface. None of these treatments is automatically wrong; the important point is to choose the reverse rather than assume the front design takes care of it.
Plan the hanging arrangement for the complete assembly. If a cord passes through aligned openings in several layers, it must suit the combined thickness and the actual passage through them. If it attaches only to a backer, the other pieces are carried through their attachment to that backer. These are different constructions, even when their front views look similar.
Try the intended cord or hardware on a representative finished ornament and observe its orientation. Added foreground pieces can change how the assembly hangs. A centered hole in the drawing alone does not establish that the ornament will present the desired face once its parts and hanger are combined.
Layering moves part of the work beyond the laser
The laser makes the components; it does not automatically join them. Epilog's multi-layer wood ornament project separates cutting, sanding, painting and adhesive assembly into distinct stages. That example shows why the number of cut pieces is only part of the making process, without supplying a universal time or cost comparison.
Before committing to several layers, think about which surfaces will remain accessible. A recess that is easy to finish on an individual piece may be difficult to reach after another layer covers it. At the same time, a finish can affect a chosen adhesive's bond to the surface. Follow the material, finish and adhesive manufacturers' instructions for the actual combination rather than assuming every painted face can be bonded in the same way.
Bring the prepared pieces together without bonding them first so you can assess their intended appearance and fit. If the composition relies on closely matched borders or repeated openings, alignment becomes part of its visual success. Detailed registration methods are a separate task; the guide to registering layered laser-cut parts covers that deeper problem.
For a monogram whose identity already reads clearly on one face, eliminating unnecessary parts can be a considered design choice. For the forest scene, separate finishing and assembly may be worthwhile because the foreground and background relationship is central to the result. These are reasons to select a construction—not claims that one format always cuts faster, sells for more or lasts longer.
Take the chosen construction to the actual laser setup
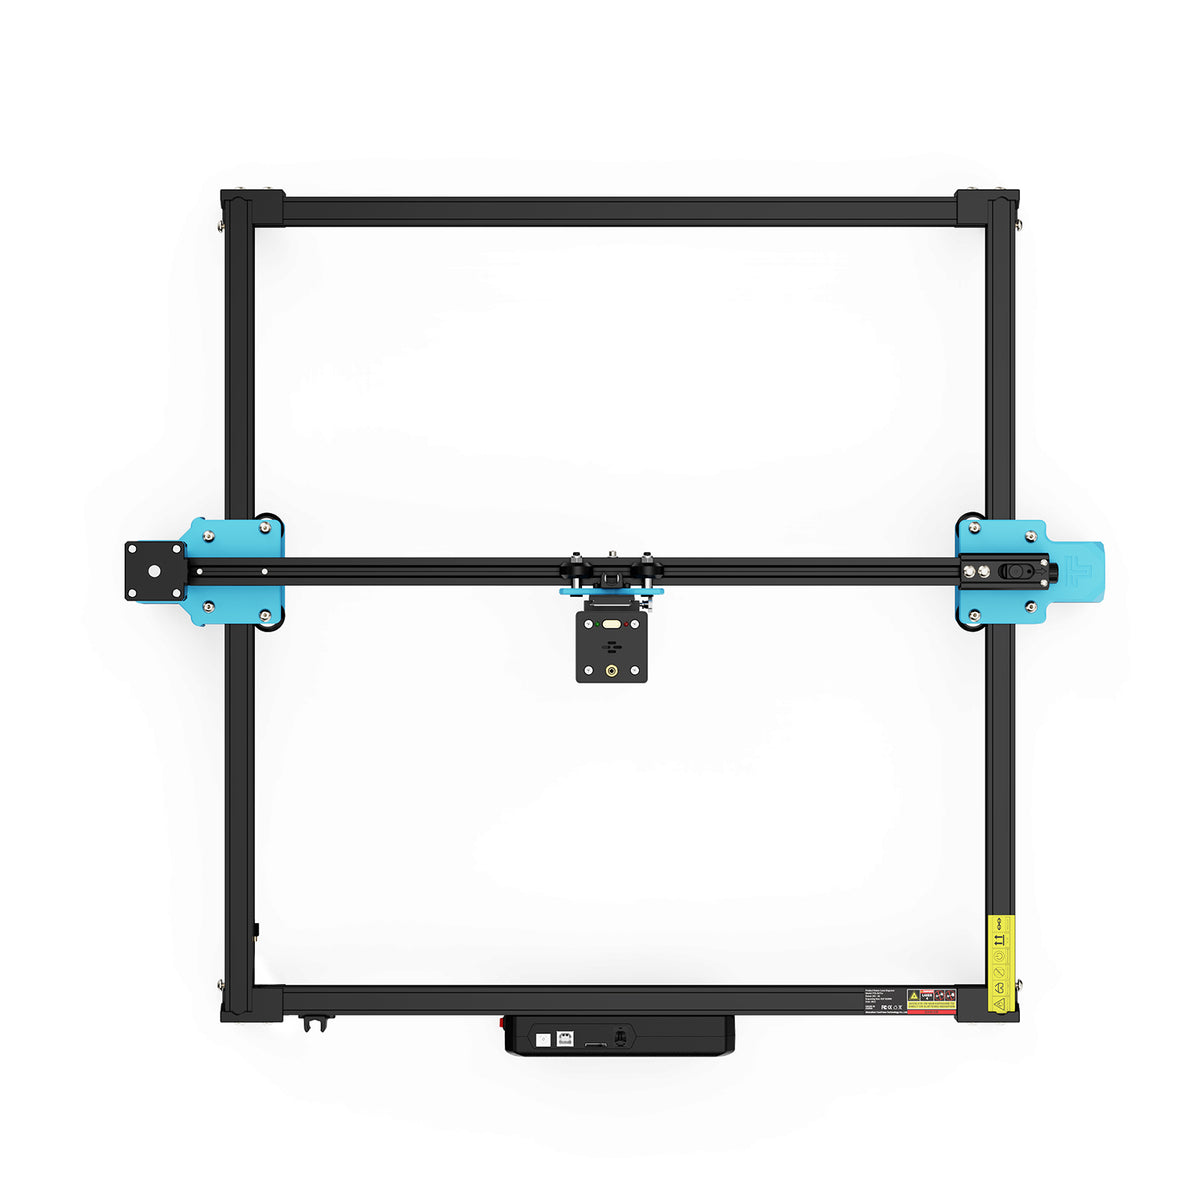
Separate flat components and a finished stack have different dimensions. Plan each component in the usable work area with its required positioning and clearances; do not mistake assembled thickness for the thickness of one sheet being processed. The TwoTrees TTS-20 Pro 20W laser engraver lists a 418 × 418 mm engraving area. Use that as the stated area when planning the layout, while matching the actual stock and operation to the machine's instructions.
Choose stock and any surface treatments that are identified as suitable for the specific laser process. Do not cut an unknown glued or coated stack simply because its outer faces resemble wood. Trotec's material guidance identifies PVC and certain halogen- and resin-containing materials among those unsuitable for laser processing because of hazardous emissions. A decorative material's appearance is not enough to establish its suitability.
Process suitable individual layers and then assemble them using the selected finishing and bonding instructions. Follow the laser's requirements for guarding, extraction, protective equipment and fire precautions throughout processing. As Trotec's laser-safety guidance emphasizes, an operating laser should never be left unattended.
Complete one representative ornament before repeating the design. For the monogram, assess whether the name and motif read clearly without another plane. For the forest scene, check whether the actual overlap adds the intended foreground while leaving the name visible. In both cases, include the reverse, finished edges and real hanger in the decision. Keep the construction that carries the design; remove a layer that adds work without adding the feature you wanted.