Design laser cut wooden bookmarks around the part that will sit inside the book. A rigid wooden strip can make an attractive personalized keepsake, but its thickness still occupies space between closed pages. In its book-care guidance, the National Archives recommends thin paper or ribbon as a bookmark and advises avoiding thick objects that can tear or distort paper.
For a wooden gift that also marks a page, one design option is to separate those jobs: use a thin paper or ribbon marker between the pages and keep a decorative wooden topper outside the closed page area. This is a design suggestion based on that distinction, rather than a conservation-approved pattern. For a valued or fragile book, choose the simple thin marker and keep the wooden keepsake separate.
Decide Which Part Actually Marks the Page
Think of the closed book in profile. The marker needs to identify a page; it does not need the same thickness or silhouette as the decoration. A long wooden strip puts rigid material throughout the page-contact area. A thin ribbon can run between the pages while an engraved initial, leaf, or other wooden motif remains outside them. Adding a tassel to a wooden strip changes its appearance and makes its end easier to find, but leaves the strip's thickness inside the book.
The attachment matters as much as the main pieces. A bulky knot, folded seam, or cluster of cord defeats the purpose of a thin marker if it is pulled between the pages. Plan where the ribbon enters the book, where it joins the wood, and where any tassel hangs. Keep the rigid component and the bulky connection outside the closed page area; avoid an arrangement that requires squeezing them beneath a cover to hold the marker in place.
The chosen book also changes the proportions. A marker that reaches through a small paperback may not work the same way in a taller book, and an external decoration can move as the book is carried. Consider how the owner will open it, lift the marker out, and put it back. Assess that placement with an ordinary book rather than experimenting on a valuable binding. Easy closing is a useful design check, but it cannot establish long-term conservation compatibility.
Put the Detail in the Engraving, Not Every Edge
Once the wooden component has a clear place outside the pages, its design can concentrate on the personal detail. Surface engraving can carry a name, short message, or small illustration within a simple outline. Cutting around every branch of a tree or every stroke of a script initial instead creates narrow connections that the finished piece must depend on when it is handled.
A broad silhouette with engraved interior detail gives you fewer slender connections to accommodate. This is a geometric design choice, not a tested strength rating: the actual wood, grain, construction, and attachment still affect the result. Place the ribbon connection within a supported part of the shape rather than treating a fine decorative tip as a convenient place to attach it. Inspect the actual component instead of assuming that a neat drawing establishes durability.
For a hypothetical set of laser engraved Christmas gifts for a reading group, an engraved initial inside a simple evergreen outline could supply the seasonal detail. The wood would remain outside the pages, while a thin ribbon marked the reader's place. A longer quotation might suit a separate gift card better than a crowded miniature engraving. That keeps the design readable without enlarging the wood until it becomes awkward to use with the intended book.
Choose Wood for the Decorative Component
Choose the material after deciding what the wood will do. An all-wood keepsake and a wooden topper on a thin marker are different objects in use. If the intention is a display keepsake, describe it that way and pair it with a separate thin marker when appropriate. A nominal sheet thickness, including 3 mm, does not establish that a rigid strip belongs between a particular book's pages.
TwoTrees basswood plywood options are one starting point for selecting stock for the external decoration. Consider the actual surface on which the engraving will appear and the sheet construction you will process. Confirm that the specific coating and adhesive, as well as the wood, are suitable for the exact laser and its material instructions. A colored product photograph cannot identify those ingredients.

Finish and surface condition remain separate questions. Inspect the wooden piece for splinters, rough edges, and loose residue before handling or assembling it. Smooth edges improve handling, but they do not prove that a coating will never transfer, that residue has been fully removed, or that the material is suitable for long-term contact with books. If a gift includes an unverified decorative finish, keeping that piece separate from the book avoids relying on an unsupported book-contact claim.
Prepare the Flat Wood Before Assembling the Marker
Engraving creates detail on a surface; outline cutting separates the component from the surrounding stock. A laser engraving machine's ability to do one operation does not establish the settings or capability required for the other on a particular sheet. Plan the artwork and outline as separate operations, using instructions appropriate to the actual material and machine rather than importing a maker tutorial's power, speed, or pass count.
The TwoTrees TTS-55 Pro laser engraver is a platform to consider for preparing a flat wooden decoration. Establish the job's suitability for the specific stock and operation before committing to the design. Keep the ribbon, tassel, and book out of the processing setup; assemble those parts after the laser work is finished and the machine is off.
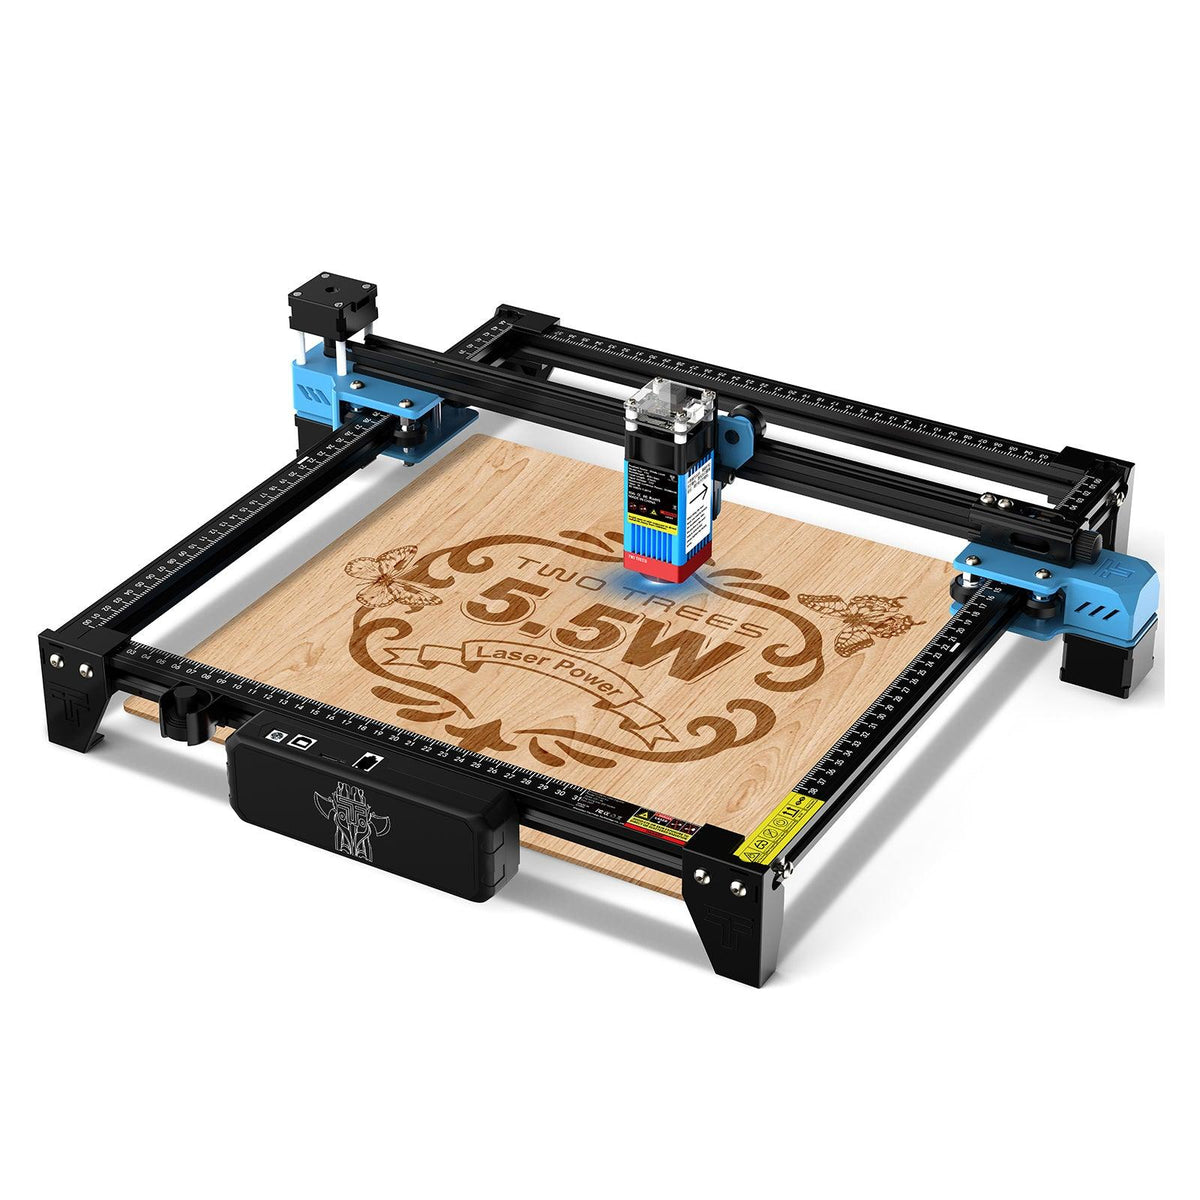
Use the exact system's required guarding, eye protection, extraction, and fire precautions, and attend the laser throughout operation. Trotec's laser-safety guidance stresses continuous supervision. The open-frame product photograph illustrates the machine and a wooden panel; the complete protective arrangement must follow the actual machine's instructions.
Material selection also applies to decorative additions. Trotec lists PVC and materials containing certain halogens or resins among materials unsuitable for laser processing because dangerous gases or dust can result. Do not laser an unknown vinyl, adhesive, paint, or coating simply because a craft tutorial uses it somewhere in the finished gift. An embellishment added after cutting is a different operation from placing it in the laser.
Make the Intended Use Clear
A gift recipient should be able to tell which part goes between the pages and where the wooden decoration belongs. A thin marker with an external topper can express that arrangement through its construction; an all-wood keepsake may need to be presented as a separate decorative gift. Neither needs an unsupported promise that it is suitable for every book.
Choose the form according to the reader and the book. Personalization can live on the wooden piece, while the page-marking job stays with thin paper or ribbon. When the book's preservation takes priority, leave the decoration separate and let the plain marker do its job.